Simple Sourdough Scoring: Easy Techniques and Ideas

Sourdough scoring is an art that adds both beauty and function to your homemade bread. As you begin your sourdough journey (even if you still haven’t made your first loaf of sourdough bread yet!), it’s worth taking the time to understand this technique. Believe it or not, something as simple as proper scoring can take your loaves from ordinary to extraordinary.
Why is scoring so important? Here’s the short version: scoring allows steam to escape during baking, which helps your bread achieve that perfect rise and crispy crust. It is particularly crucial for sourdough bread due to its unique properties.
Sourdough bread relies on wild yeasts and bacteria for fermentation and leavening. This process creates its distinctive tangy flavor and chewy texture. All of this makes for a more complex fermentation process, as opposed to bread made with commercial yeast.
If you’re ready to take your sourdough game to the next level, keep reading to explore some simple scoring techniques that will have you creating Pinterest-worthy loaves in no time. With a bit of practice and creativity, you’ll soon be slashing designs that make your bread as beautiful as it is delicious!

This post contains affiliate links, which means I may make a small commission at no extra cost to you. See my full disclosure here.
Essential Tools for Scoring
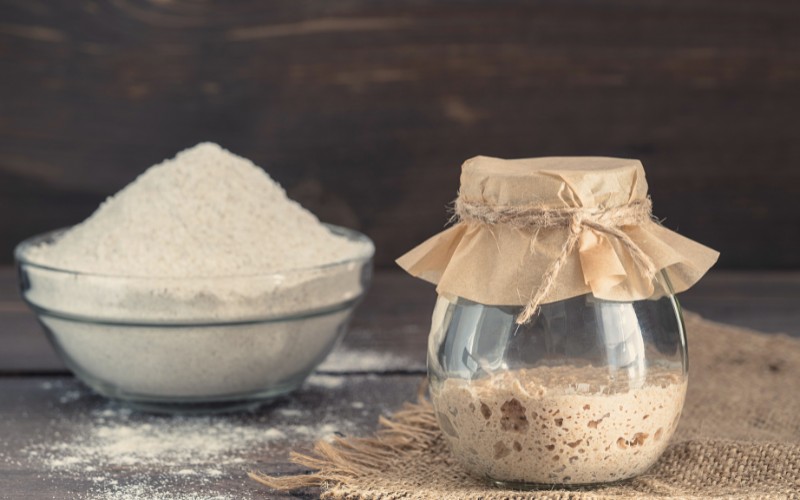
The first thing to cover are some basic tools you will need to make and score your sourdough bread. If you don’t have this whole set of sourdough tools yet, don’t worry. There are plenty of alternate methods and items that can be used as well.
A bread lame is the traditional tool for scoring sourdough. It’s a small, sharp razor blade attached to some sort of handle, giving you precise control over your cuts. If you don’t have a lame yet, you can just use a sharp knife or regular razor blade. Whatever you choose, make sure it’s very sharp to avoid tearing the dough. And remember to work carefully. We don’t want anyone slashing their hand open!
Making a properly measured and proofed loaf makes a big difference in how your scoring pattern turns out. If you’re looking for a simple sourdough bread to make as a base for your scoring design, this rustic sourdough bread recipe is the perfect place to start.
A proofing basket, or banneton, helps hold the bread’s shape and creates attractive patterns on the crust. When paired with a liner, they make for a smoother top which allows for easier scoring. If you don’t have a banneton yet, I recommend using a bowl with some kind of simple liner (a cut up cotton t-shirt works well) on the bottom. This will keep the surface of your dough nice and smooth.
A dutch oven is ideal for baking sourdough. It traps steam, creating the perfect environment for a crispy crust and good oven spring. That steam is necessary for making a nice score pop and not close up too quickly.
It’s also a good idea to have the basics like good mixing bowls, a kitchen scale, and thermometer. These help you follow sourdough bread recipes accurately.

Understanding Sourdough Scoring
Scoring is a fun way to get artistic and creative, but it’s also more than that. It controls how your loaf expands in the oven and affects its final appearance.
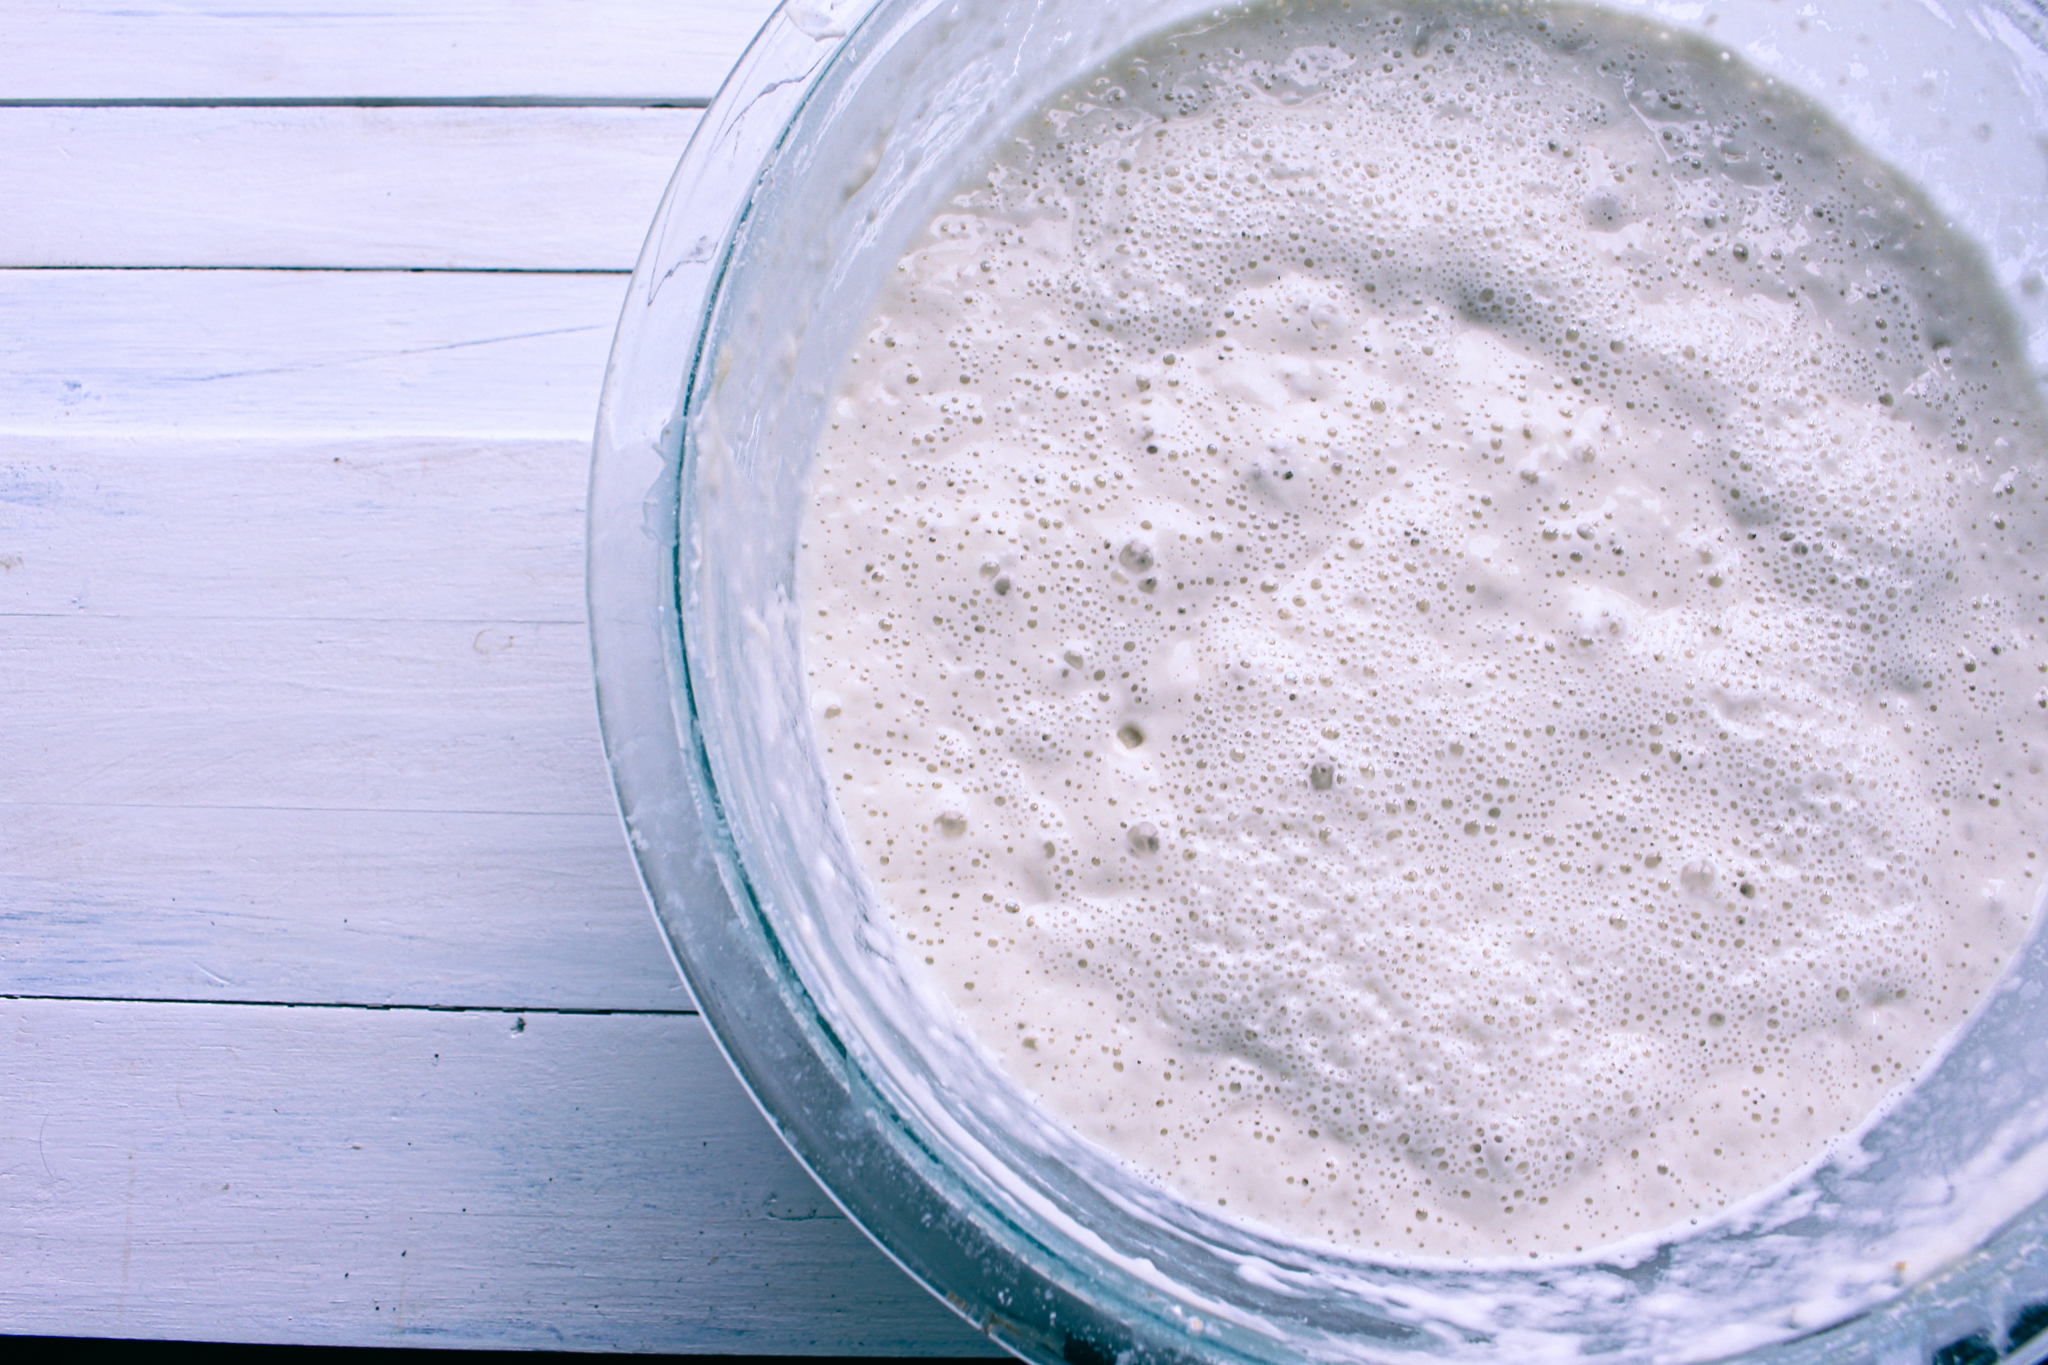
You’ll want to score the top of the dough just before baking, after it’s fully proofed. I highly recommend allowing your dough to go through a cold ferment in the fridge in addition to the bulk fermentation. It’s easier to score cold dough than it is a room temperature loaf.
Use a sharp blade to make clean, decisive cuts. The deeper the score, the more expansion there will be. I usually make my main cuts 1/4 to 1/2 inch deep. These deeper cuts are called expansion scores and are more geared toward practicality than prettiness. They allow the bread to expand evenly during baking, preventing random cracks and giving a more appealing crust.
Artistic scores that are purely decorative should be much shallower. This will keep the beautiful design tighter and more visible.
Of course, you can choose a pattern than’s super simple, or do something more intricate. Common designs include a single slash, crosshatch, or leaf patterns, which I’ll show you how to do in a minute. Feel free to experiment to find your favorite style!
The process of sourdough scoring
Scoring your sourdough bread creates an attractive appearance and controls how it expands during baking. Let’s go over the process involved in preparing the dough surface and making precise cuts.
Prepping the dough
First, it’s time to prep the dough. Before scoring, make sure your dough has a good amount of surface tension. This is mostly achieved by proper shaping and placing your dough in a lightly floured banneton or bowl. Again, I recommend letting the shaped go through a cold ferment, even for a short time (8-12 hours) before baking.
If you pull your dough out the next day and see that it’s lost some shape, it’s okay to give it a few gentle tugs on the counter to tighten up the surface right before scoring and baking.
Next, turn your dough out onto a piece of parchment or bread sling, which will make it easier to move your scored loaf to the oven. Just be careful not to deflate the loaf as you move it around.
Gently dust the top with flour to create contrast for your cuts. Many sourdough bakers swear by rice flour because it’s less likely to turn brown during baking, but I’ve never had a problem with just using a little all-purpose flour (as long as I’m baking in the dutch oven).

One more note: before or as you are prepping your dough, fully preheat your oven with dutch oven inside. Putting your bread inside a very hot oven will promote good bread rise and expansion.
Making the score
Choose a sharp blade (bread lame, razor, or sharp knife) for clean cuts. Hold the blade at a 30-45 degree angle to the dough surface for best results.
I like to make my shallow cuts first, then my expansion score last. But it really doesn’t matter too much.
Remember, your cuts should be no more than 1/4-1/2 inch deep. This allows for controlled expansion during baking. Overly deep cuts will compromise the bread’s structure.
Work quickly and confidently to avoid dragging the blade. A single fluid motion produces the cleanest cuts. You got this!
You may try different scoring patterns depending on if you are making a round loaf (boule) or an oval loaf (batard). For round loaves, a cross or square pattern looks great. For oval shapes, try a long slash slightly offset from the center, or some diagonal cuts.
Practice makes perfect. Don’t worry if your first attempts aren’t flawless, and feel free to experiment. Taste and sustenance is the main reason we make bread. Even if your scoring doesn’t turn out the way you’d hoped, you’re still making a great tasting loaf of bread.
Creative Scoring Techniques
Now that we understand how scoring sourdough adds visual appeal and affects how the bread rises, it’s time for the fun part: experimenting with different patterns. Here are a few ideas for creating unique designs that complement your loaf’s shape and size. We’ll start with a few simple sourdough scoring patterns and then move into some that are slightly more complex.
But not too complex. I’m a simple sourdough girl, so that’s what you can expect here. 😉

Simple expansion
Your score pattern doesn’t have to be elaborate or fancy to still be beautiful. A single expansion score can create such a simple, elegant look for your bread.
To achieve this pattern, simply drag your sharp lame or razor blade all the way down the surface of the bread, slightly offset from the center. This type of score works best on batards, or oval-shaped loaves. You can do it on a round loaf as well, but there will be a greater risk of cracking outside the main score.

Simple crosshatch
Another simple and easy scoring pattern that still looks beautiful is the crosshatch. The crosshatch works best on boules or round loaves, due to their inclination to rise as far upwards as possible.
The fun thing about the crosshatch is that you can add more intricate designs on the outside of the “X,” if you desire. I like to do swirly lines or small wheatstalk patterns to add deocration. Just be sure to make these decorative scores very shallow so they don’t interfere with your main expansion score (which is the crosshatch, in this case).

Wheat stalk with expansion
The wheat stalk with expansion score is my go-to pattern when making sourdough bread for my customers. It’s easy and very appealing to the eye. Just make your simple expansion score slightly offset from the center. I rub some flour on the wider side, then score the wheat stalk using precise, but shallow cuts.

Geometric patterns
As a general rule, adding geometric patterns around your main expansion score is a great way to add interest to simple sourdough scoring patterns. Sometimes I will do simple line patterns around the bread to give it an interesting texture.
Don’t be afraid to experiment. You never fully know exactly how a new scoring pattern will turn out. You may end up loving it more than you thought you would.
How to get a sourdough ear
If you don’t know what an ear is yet, it’s basically an expansion score that once baked has more height on one side. Here’s an example:
I’m one of those annoying people who have pretty much always gotten an ear on my sourdough without really trying. But after some studying, I think I know why.
Here are the factors in achieving a good sourdough ear:
- Properly proofed dough: If your dough is underproofed, your expansion score probably won’t expand enough to produce an ear. If it’s overproofed, your bread won’t rise as high and you are likely get more cracking in places you don’t want.
- Depth of score: Scoring too deep will compromise the structure of the bread, while a score that is too shallow won’t be able to reach enough height for an ear.
- Angle of score: Scoring at an angle instead of straight down is a major factor in producing an ear.
- Oven temperature and availability of steam: If the oven isn’t hot enough and/or there isn’t adequate steam, your bread will rise too slowly and you’ll lose the chance of developing an ear.

Some final tips for sourdough scoring
- Don’t be afraid to stick with a simple score for as long as you need to. I’ve been baking sourdough for years now, and I prefer the simplistic beauty of a simple cross hatch or single expansion score. It’s also practical and quick.
- Invest in a good bread lame and flour sifter. They aren’t very expensive, will last, and will help your scoring designs pop every time. The KneadAce magnetic bread lame is my current favorite!
- Do what it takes to get good oven spring. Oven spring is the rapid expansion of your bread dough during the first few minutes of baking, so it’s important to get this right for a beautiful scoring pattern. The best way to get a good oven spring is by getting the right depth of the scores, as well as making sure your oven is super hot. I always preheat my oven to 450°F (230°C) with a Dutch oven inside for at least 30 minutes.
Share your scoring creations
Showcasing your sourdough masterpieces can be a rewarding part of your baking journey. In my free Facebook group, Honest Sourdough Circle, you’ll find a supportive community eager to see your unique scoring designs and learn from your experiences! And if you want to go even further into how to bake sourdough easily in less time, check out my full course, Honest Sourdough.