
Planting A Successful Garden: 5 Tips For Beginners


If you’re like many people, you’re getting more and more interested in growing your own food. And that’s great! But maybe have no earthly clue where to start when it comes to how to plant a successful garden.
I get it, gardening can seem like a daunting task. But it doesn’t have to be! I know without a doubt that you can grow an absolutely amazing small garden, even as a beginner. So if you’re ready to plant the most successful garden you’ve ever had (even if this is your very first garden)… then keep reading.
my history in garden planning
Here’s the thing: if you can implement a plan, you’ll already have a head start on most other new gardeners. The first step to a thriving garden really is that simple.
I grew up in an area where there was lots of woods and shade trees. But, my dad was always determined to grow some kind of garden almost ever year, and so he did.
He was always experimenting with vegetable gardening, trying to grow new things. He even did his own community garden of sorts with one of our neighbors for several years. I guess I got a lot of my determination for making things work from him. But back then, I honestly didn’t care very much about gardening. As a child and teen, I just didn’t understand the appeal of putting so much back-breaking work into getting… what? A few vegetables?
Obviously, my tune has very much changed since then. As grown adults, our priorities shift and change (hopefully), and the significance of doing things for ourselves increases. Now, I love just about all things gardening! Whether it’s simply something beautiful to behold, or an abundance of nourishment for my family, there’s something so satisfying about watching a tiny seed grow into more.
But as a beginner gardener, I overlooked the importance of planning. That was a major problem. As it turns out, having a plan can be one of your best friends if your goal is to grow lots of veggies, fruits, and even flowers. This is true no matter what size space you have.
Why you should plan out your garden
Why not just throw seeds in dirt? I mean, isn’t that basically all there is to it? Not quite. Although I will admit that I have taken this route before.
The main reason you should have a plan before starting a garden, is because whatever space you do allot will be much more productive. Additionally, as you do a little careful planning, you’ll find yourself doing less unnecessary hard work. Instead, you’ll enjoy more manageability in your garden area.

Planning is simply the best way to make gardening worth your time. And I promise, it doesn’t have to be long, drawn out, or complicated.
I know we’re all excited to get those seeds in the ground and start the growing season, but trust me when I say, implementing these next few steps will definitely fill your garden space with healthy plants.
5 steps to planning a successful garden
1. Find the best location for your garden
The first step in planning and knowing how to plant a successful vegetable garden, is to determine how much space you have available. Finding the right location is crucial to bringing in a bountiful harvest.
You must choose a spot that gets at least 6-8 hours of sunlight in the summertime, unless you only plan to grow leafy greens and other vegetables that tolerate partial shade. Don’t assume that just because a spot is in full sun at 2pm, means it will get adequate sunlight for a garden. It’s a good idea to watch the area in question for a day or two to observe exactly how long it’s getting sun.
Figuring out what type of garden you want to grow is included in this, too. What I mean by that, is to decide whether you want an in-ground garden (till or no-till), or raised beds.
Raised beds have grown in popularity over the past decade. They are a great way to maximize space, are known for having good drainage along with the ability to be filled with whatever good soil you choose. Some people prefer them because they’re easy to work with. You don’t need to bend as much when planting or harvesting crops from a raised bed, and they tend to have fewer weeds. This is especially handy for those that might have physical limitations that make it difficult to garden, but still want fresh produce from their own plot of land.
However, building or buying a raised bed can increase your startup cost quite a bit. You can grow a great garden without going the raised bed route. I’ve personally done both. And while I’ve found I prefer raised beds, there are pros and cons to both. In the end, it’s up to you!
So, to summarize: find a good location that takes into consideration sunlight, easy access to a water source, and plenty of organic material.
2. Decide what to plant
When deciding what to plant in a successful garden, it’s important to consider the size of the vegetable plants you want to grow. For example, cucumber and tomato plants will take up more space than smaller plants, like peppers and lettuce. If you have a small garden space, you’ll want to take this into account.
It’s a good idea to think about how quickly you want to harvest the vegetables, as well. If you’re only going to be able to garden for a few months out of the year, then you’ll want to plant crops that can be harvested relatively quickly. I have a great post on quick-growing vegetables if your growing season is shorter, or you just got a late start.
When selecting vegetables, consider the climate in your area. Certain veggies will do better than others depending on how hot or cold it is. For example, tomatoes and peppers love heat and sun, so they would be a good choice for a hot, sunny climate. However, if you live in a colder part of the country, then you might want to focus more on growing veggies like broccoli, carrots, and leafy greens.
Most importantly, keep things simple, especially if you’re newer to gardening. Buying plants from a local nursery helps keep things easy. But if you would like to start seeds, I personally love getting seeds from True Leaf Market!

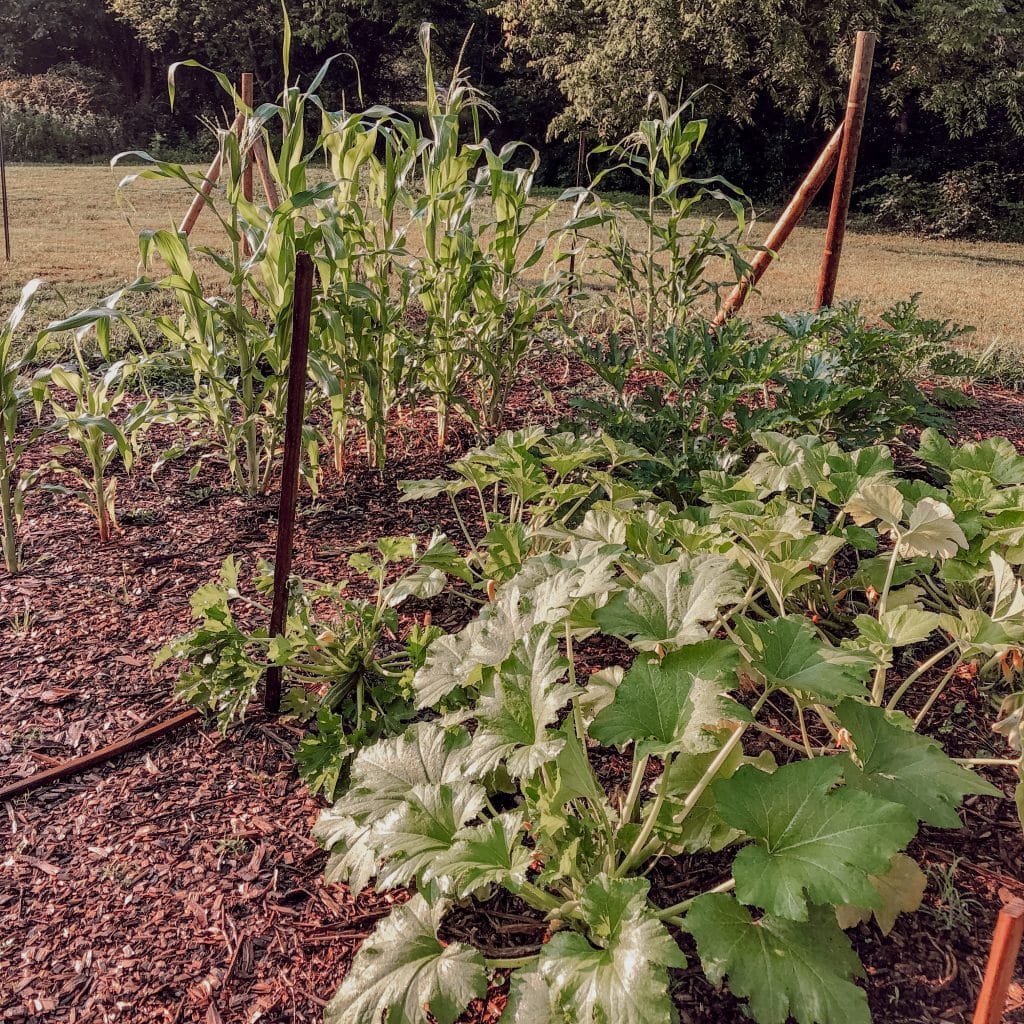
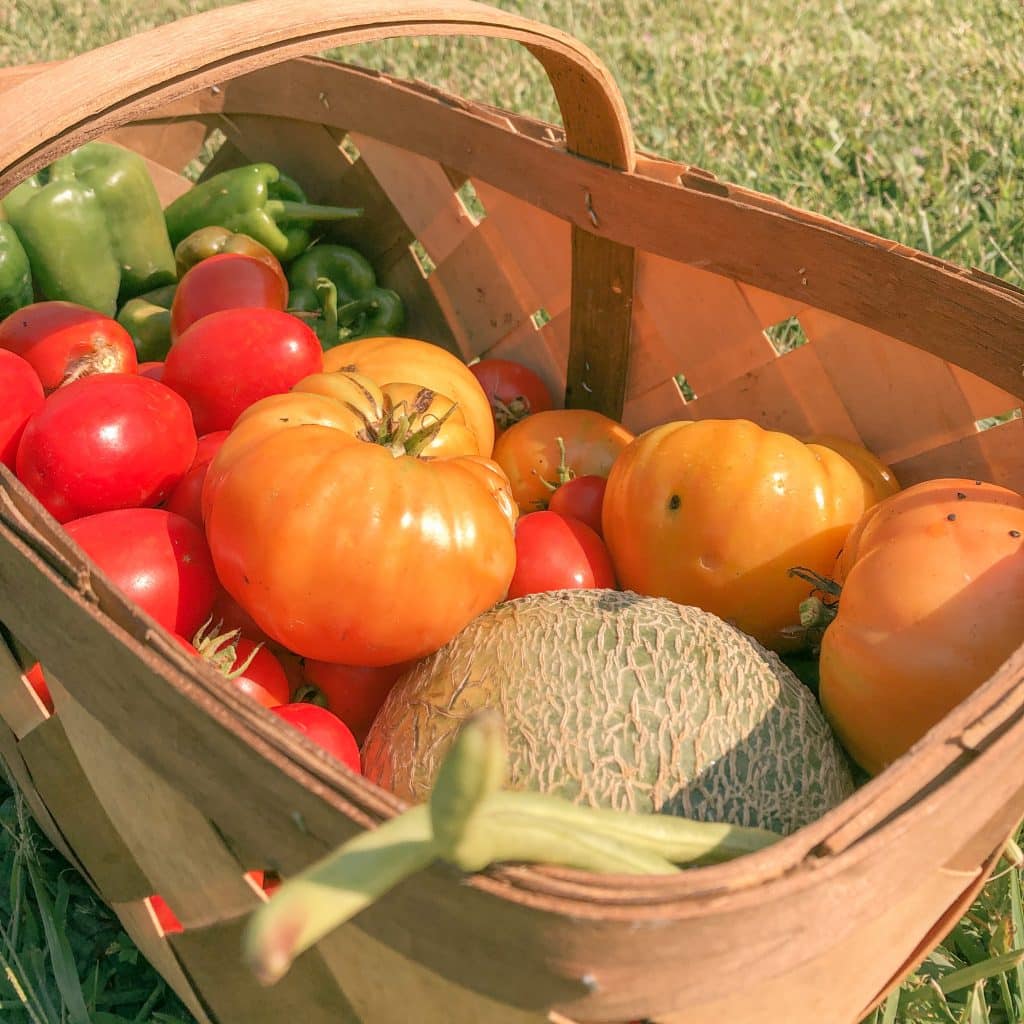
It can be appealing to buy a bunch of exotic seeds and plant any and all the things, but sometimes it can get overwhelming, especially once you’re in the thick of harvesting season. Choosing crops that are easy to grow (like tomatoes, summer squash, and cantaloupe) will increase your level of success. Plus, you may end up with a lot of something you don’t even know what to do with. Speaking of…
Grow what you buy at the grocery store to save money! And at the same time, maybe grow a few things you don’t or can’t buy because they are either too expensive or aren’t readily available.
3. Understand your plant’s nutrient needs
Healthy soil is a crucial component for most young plants. It’s one of the most important, yet often overlooked details by budding gardeners.
Knowing your soil will give your plants the best chance of thriving. Not all dirt is created equal. Some soils, like sandy soil or clay soil, may not provide certain vegetables with the nutrients they need to grow and produce. It’s important to choose the right soil, ideally something rich in organic matter. If you don’t have compost or a nice rich soil, you can try to amend the soil you have by adding other kinds of organic fertilizers.
If you’re not sure what type of soil you have, there are a few ways to find out. One way is to take a sample to your local gardening center for a soil test. They will be able to test the pH level and tell you what type of soil you have. Another way is to do a quick internet search for ‘soil testing kit’. There are many different types of kits available, and most of them are very affordable.
Once you know what type of soil you have, you can make any necessary amendments. Since you now have an idea of what you want to grow, don’t be afraid to do a little research on what kind of nutrients those particular crops need.
In the end, don’t stress too much about getting the perfect soil. You’re going to have successes and failures either way. Sometimes certain plants surprise me by taking off, even when I don’t put a lot of effort into building great soil.

4. Draw your garden plan
If you love planning and designing like me, you’ll find this part very satisfying. I love using good ol’ graph paper for drawing out my garden plan. However, there are a few tech tools available that can make the process easier, if you’re into that kind of thing! I’ve used Seedtime to help me visualize planting dates and create task lists, and Grow Veg for mapping out my garden areas. Both of these resources have free plans or trials. With Grow Veg I created my garden plan while on the trial, printed and laminated it then canceled. There’s your frugal tip for the day. 😉
Once you have your perimeter drawn out, consider filling in the larger vegetables first. These plants will take up more space, so you’ll want to give them plenty of room. Check your seed packets for spacing ideas if you aren’t sure. Tomatoes, peppers, and squash are some examples of larger plants that are still easy-to-grow. Keep in mind that if you are doing a traditional garden with rows, it’s best to have the rows running north to south for optimum sunlight.
After you’ve filled in the larger vegetables, start filling in the smaller ones. These plants will need less space, so you can fit more of them into your garden. Lettuce, beans, and carrots are some examples of crops that take up less room.
This is the layout I sketched out for our large garden last year. We had a lot of rows, but you could definitely do something like this on a smaller scale:

You can also write down or notate which crops you will start from seed packets, and which you will buy from seedlings or plant starts.
Once you’ve planned your layout, it’s time to start planting! And don’t be afraid to make adjustments as needed.
5. Consider companion and succession planting
This is an optional step for how to plant a successful garden, but I think it’s worth looking into! If you aren’t sure what companion planting or succession planting is, here’s a basic breakdown.
Companion planting is simply planting certain crops that do well together, in close proximity. The reason certain crops grow better together has to do with their nutrient intake and release, as well as their disease-resistance qualities. For example, tomatoes and basil grow well together, and so do spinach and strawberries.
Succession planting is the practice of planting certain crops multiple times throughout the season. This works especially well for faster-growing crops like radishes, lettuce, or even carrots. Planting these crops every 1-3 weeks in succession keeps you from having too much of one thing that may not store very well. For example, if you grow too much lettuce all at one time, it’s likely that it will wilt in your fridge, or bolt (start going to seed and become bitter) before you take it out of the ground.
bonus tips + summary for planting a successful garden
Here are a few final things you can consider to help you plant a successful garden:
- Be aware of the length of your growing season, and take advantage of it.
- Start early, but don’t give up if you get behind.
- Think about growing fall veggies, and when to start planting those alongside your summer crops. (A lot of summer crops you can harvest, and then replace with fall crops)
- Don’t overthink it, especially when it comes to things like companion planting and soil amendments. Don’t get so far in the research weeds that you become paralyzed to take imperfect action in the garden.
- Most importantly, have fun and learn from your successes and failures!


Really great tips for beginners. Great encouragement!
Oh! I never thought about the soil here at our new house! I will have to look in to that more! So glad I read your post!
Every single year I have the intention of doing a really thought-out layout and planning session. And every year for one reason or another it never actually gets done. But this definitely looks doable! I’m going to come back to this! Thanks!